Hello!
Thank you for your purchase of our Locally Handmade Wire Cheese Slicer from our shop in Mendocino, California.
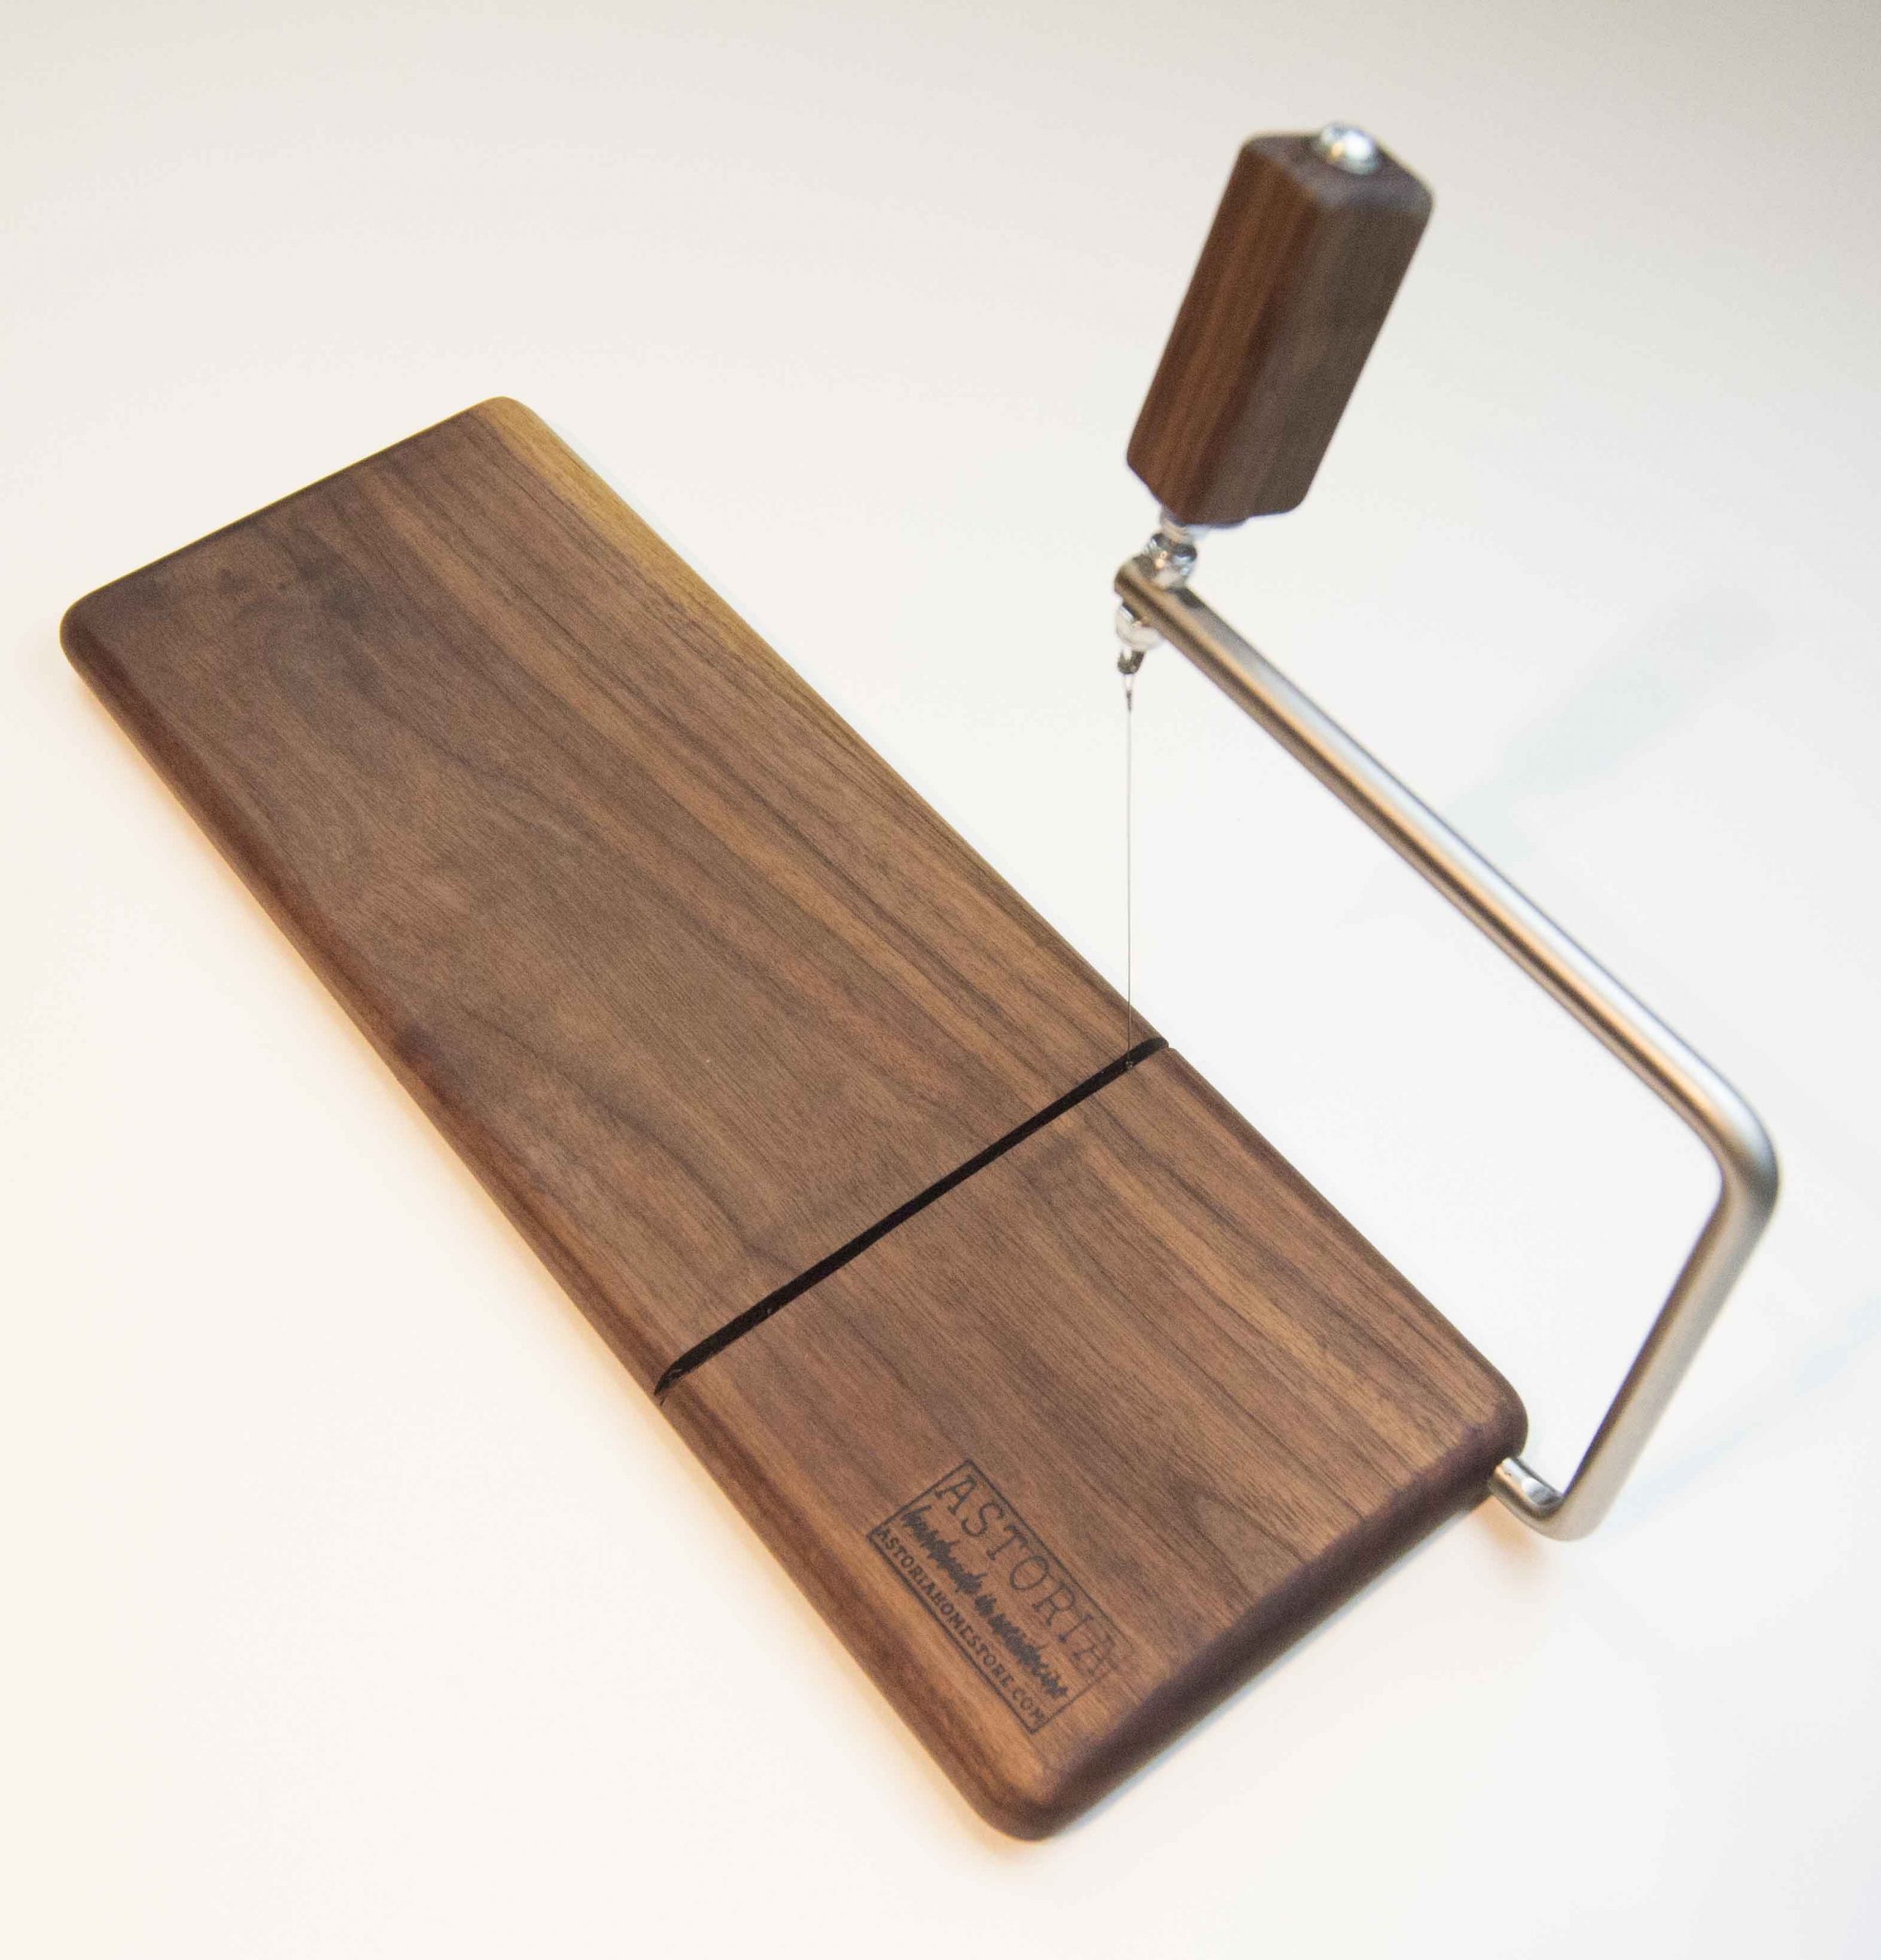
This page is dedicated to all things about and for your wire cheese slicer!
Below are informational videos, care instructions & tips, wire replacement instructions, as well as all of our products relating to cheese slicing!
Video demonstrating your wire cheese slicer,
how to use and what it can cut:
VIDEO COMMING SOON
Video demonstrating wire replacement and other trouble shooting:
VIDEO COMMING SOON
Care and maintenance:
Cleaning Your Slicer
Ideally, clean your slicer with warm water, with mild soap and a soft sponge.
It is best to clean any remaining cheese residue off of the slicer before that cheese drys.
Cleaning before any residue dries is extremally important with the wire and within the slicing grove of your slicer.
!Do not submerge your slicer in water for any period of time as it will cause them to crack swell, warp and stain!
After hand washing, dry them with a dishtowel and then any other moisture dry out by allowing them to air dry overnight.
*We recommend using stainless steel knives / spreaders / forks / spoons -etc. to reduce the chance of staining.
Wire Tension (a tensioned wire cuts the best) :
For effective and accurate slicing, your wire cheese slicer will need to have a tightly tensioned wire. Our slicers are already preloaded with tension in the arm and in the adjustable handle to allow for a tight tensioned wire. As time goes on with usage, wires may loosen up and our adjustable 3/8th inch lock nuts allow for you to tighten your wire as it loosens. To tighten the tension on your wire, lover the nut closest to the wire and then do the same with the nut right on the other side of the bar to tighten up the space you freed my lowering that 1st nut. once the second nut is tightened down to re-secure the handle and you should be good to start cutting again. Tips: You do not want to overtighten your wire. Tighten the wire till you hear a higher pitch twang if you pluck it softly like a guitar string and the wire bends slightly but springs back without slack. Do not loosen the nut that holds your wood handle together.
Periodic Oiling (same with any of our other hardwood products):
Your natural wood item will dry out with use and age and periodic oiling is required.
With a soft, lint-free cloth, rub a generous amount of food safe oil or oil blend on all sides of your hardwood item.
FDA approved Mineral oil can be found at a hardware store, grocery or drug store, or online.
Mineral oil ( or “ liquid paraffin” ) is one of the cost effective and easiest thing to find.
*We recommend Howard’s Brand of a Beeswax citrus blend “Butcher Block Conditioner” for re-oiling.
We have found FDA approved mineral oil or a Bee’s wax mineral oil blend works best.
Buff any residual oil off of your hardwood item with a cloth or paper towel.
Once treated the item will have a slightly darker color and a beautiful shine once again.
To replace your wires:
1st, Remove the old wire. You may need wire cutters to do so depending how and where it broke.
2nd, Pull the bar out of the board if you need to remove any attached wire on the bar side.
3rd, Take your new wire and slip the larger loop on the bar by pulling the inserted bar out until the wire can slip around the end of the bar, then slide the bar in till the groove on the bar lines up with the slicing groove on the board.
4th, Make sure your handle bolt is lowered as close to the board as possible. This is accomplished by using a 3/8″ standard wrench to lower the locknut closest to the hook end by twisting counter clockwise, then do the same for the locknut on the other side of the bar until the two have the bar firmly grasped tight in between. Most of our slicers are pre-tensioned enough that adjusting the locknuts is only needed when a wire stretches out and loosens.
5th, You may need to bend the bar a bit to get the bolt hook to snag the wire (our slicer bars are pre-tensioned). After the wire is hooked, you may need to adjust the two locknuts to tighten your wire. Remember that a tighter wire cuts best, but don’t overtighten 😉
If you just need more extra wires, we have those here:
Enjoy!